Saturday night we decided to do another "fun" dinner. It had been a rainy, dreary day here, and we've been stuck inside so we thought we'd brighten up the day by spending some time together in the kitchen. I've had the idea to do a dinner of all dips for a few weeks now, and this just seemed to be the perfect opportunity. Our menu for the evening was:
Baba Ganoush with Toasted Pita Chips
White Bean Dip with Sundried Tomatoes
Homemade Pico de Gallo with tortillas
Fried Zuchinni with Marinara Sauce (The sauce was not homemade- we had some leftover that needed to be used up).
WHITE BEAN DIP:(Serves 4 as an appetizer)
I adapted this from one I had tried in the past, and one I had found online. I kind of combined the two to get this one.
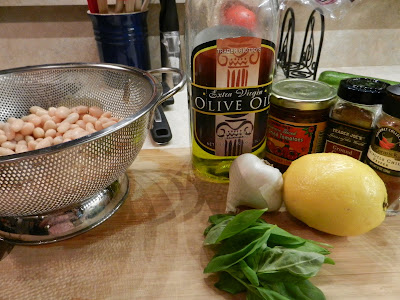
1 can Cannellini beans
1-2 Tablespoon fresh lemon juice
1/4 cup (or to taste) sundried tomatoes- diced
2 Tablespoons olive oil
1/2teaspoon chipotle chili powder
1-2 teaspoon ground cumin
1 clove of garlic
handful fresh basil, chopped
1/4 cup olive oil
salt and pepper to taste
Directions:
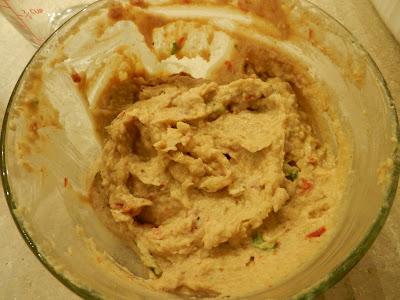
Drain and rinse the beans. Put in food processor with garlic and lemon juice and puree until smooth- make sure there are no lumps. Slowly drizzle in olive oil and blend until mixed.
Transfer bean mixture to a serving bowl. Add in the minced sundried tomatoes, cumin, chili powder, basil, salt and pepper. Combine well. You can serve this chilled or warm. We had it with toasted pita chips.
BABAGANOUSH (Roasted Eggplant Dip)(Serves 4-6 as an appetizer)
I had never made this, nor had we ever had it before. We decided to try making this after another CSA Member told me that they make this with the eggplant they get from the CSA. Since we had 3 fresh eggplants (or aubergine for my foreign followers) in the fridge we decided to give it a try. I found the base of this recipe on foodnetwork.com.and made some changes based on the comments. It worked out well, not the best dip I've ever had, but definitely a great starting point. I will share this recipe with you, but this is still a work in progress. I am going to try a few more recipes, and make some more modifications. My husband and I both agree that this does make a wonderful dairy free dip!
Ingredients:
1 large eggplant (about 1 pound)
2 cloves garlic, minced
1/4 cup finely chopped fresh flat-leaf parsley
2 tablespoons tahini sauce ( I used Trader Joes)
2 tablespoons lemon juice
1-2 teaspoons ground cumin
a pinch cayenne pepper
Salt and pepper to taste

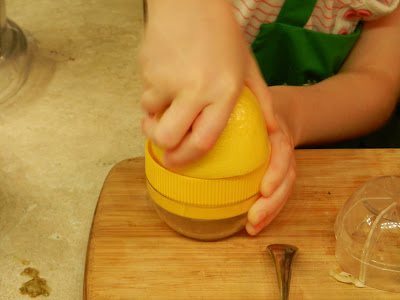
Cat juicing a lemon
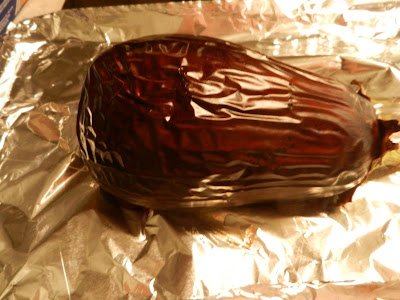
Preheat oven to 450 degrees F.
Prick eggplant with a fork and place on a cookie sheet lined with foil. Bake the eggplant until it is soft inside, about 20 minutes.
Let the eggplant cool. Cut the eggplant in half lengthwise, drain off the liquid, and scoop the pulp into a food processor. Add in the tahini sauce, garlic, lemon juice, parsley, cumin, and cayenne pepper. Process the eggplant until smooth. Taste, and adjust seasonings as needed.
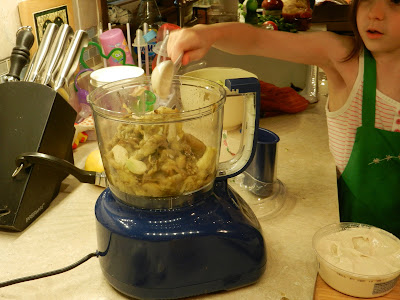
Cat got to add the tahini and other spices
We added more tahini and more salt. And we added the cayenne for a little kick because we felt it was a little bland (we like spicy). The consistency of this was perfect, the flavor needs a little work in my opinion. The big test was if my husband liked it (He's not a fan of eggplant) and he did like it. He agreed it needed some work still, but he still ate a huge helping of it. :-)
PICO DE GALLO (Servees 4 easily as an appetizer)
This is by far mine and my family's favorite dip. It's so easy, and so basic, but that is what makes it so good. It just has a clean flavor.
Ingredients:
2-4 large fresh tomatoes
1/2-1 medium onion diced as small as you can (I find that vidalia works best, but red onion is good if you want a stronger onion flavor)
handful fresh cilantro- chopped
1/2 -1 jalapeno, seeded and minced. Leave the seeds in for more heat.
Splash of lime juice (I had to use bottled because I only had fresh lemons on hand-oops! But the bottled worked fine too, I just prefer fresh squeezed)
Fresh ground sea salt to taste.
Directions:
Chop, mince, dice all the veggies to the size of your choice. Toss together in a bowl, add 1-2 tablespoons lime juice, and about a 1/2 teaspoon salt. Stir well, adjust seasonings to taste, and chill for about 20 minutes before serving. You may find you need more lime juice or salt depending on how many tomatoes you use.

Lastly we had fried Zuchinni with marinara sauce. The sauce came straight out of a jar for this one. I had some leftover from the other night, and it needed to be used up. It was Trader Joe's Organic Marinara Sauce with Basil. I did make the fried zuchinni from scratch but didn't get any pictures because I was too busy breading and frying, and David was helping the girls set the table.
Our fun dinner of dips looked like this:

White Bean and Sundried Tomato Dip, Babaganoush with toasted pita chips
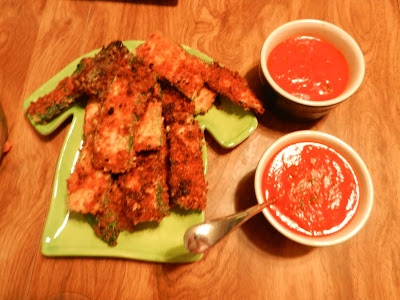
Fried Zuchinni with Marinara Sauce
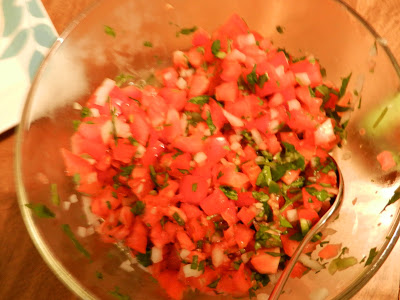
Pico de Gaillo with Warm Tortillas

My plate- it was all so good!
We will be doing this again soon and trying new dips. What are some of your favorite dips?